Three perimeter shapes are provided to enable specific perimeter topologies to be drawn efficiently:
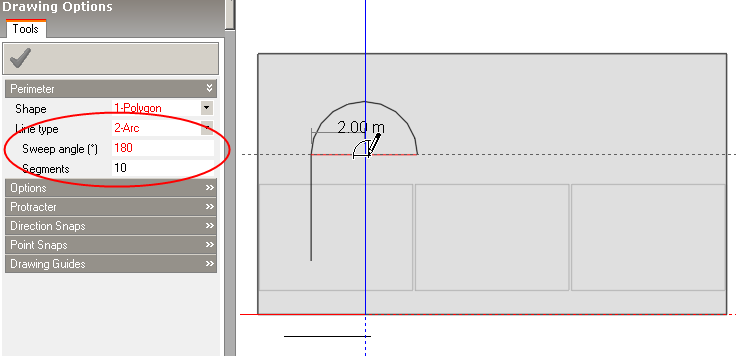
The 'Polygon' is probably the most useful shape and can be used to draw perimeters of any topology. The 'Polygon' shape also allows you to change the line type from a straight line to an arc. To draw a perimeter using the 'Polygon' shape, start drawing the first line by clicking anywhere in the active drawing plane to place the starting point, then move the mouse cursor and click to place the line end-point, you can use the snaps and the protractor to help with alignment. Continue placing perimeter lines in the same way. If at any time you want to cancel the last line that you placed, you can press the ESC key or select 'Undo last point' from the right-click menu. If you want to incorporate an arc within the perimeter, you can change the line type to 'Arc' and then place the centre-point of the arc:
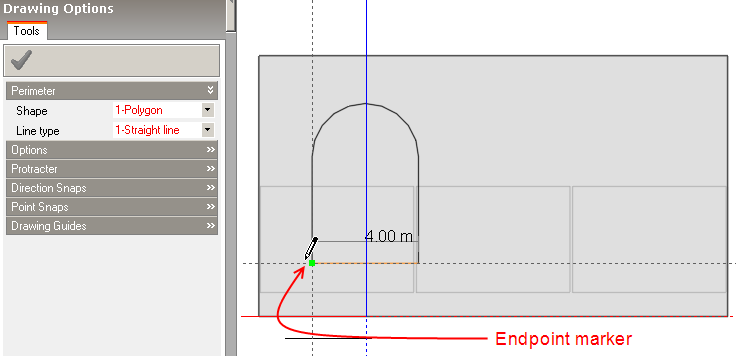
To complete the perimeter, move the mouse cursor to the beginning of the first perimeter line, which activates the end-point snap and click on it to connect the lines:
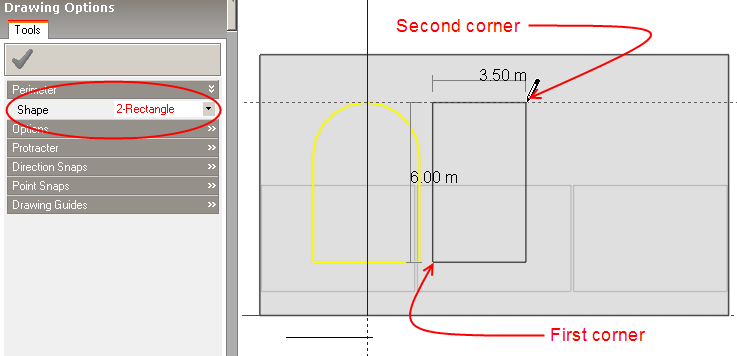
The 'Rectangle' shape allows you to draw perimeters by placing diagonally opposite corners of a rectangle:
The 'Circle' shape is used to draw circular perimeters by placing the circle centre and then setting the radius by placing a second point:
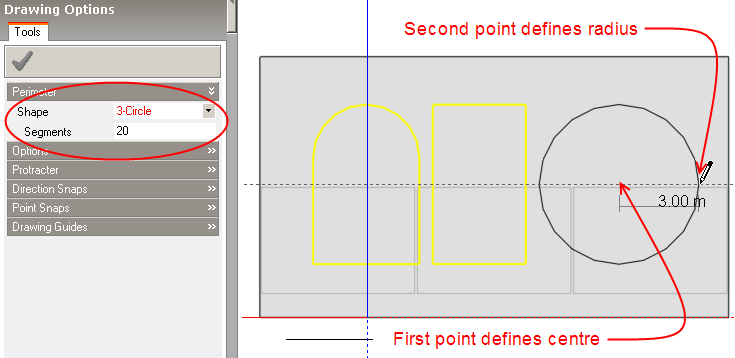
The associated 'Segments' option allows you to control the accuracy of the circle. In DesignBuilder geometry, circles are actually composed of polygons and the accuracy of the representation can be controlled by defining the number of segments (or lines) used in generating the polygon. Generally speaking, the greater the number of segments used will result in more memory usage and processing time and so, particularly in the case of blocks, it's advisable to use the default number of segments where possible.