![]()
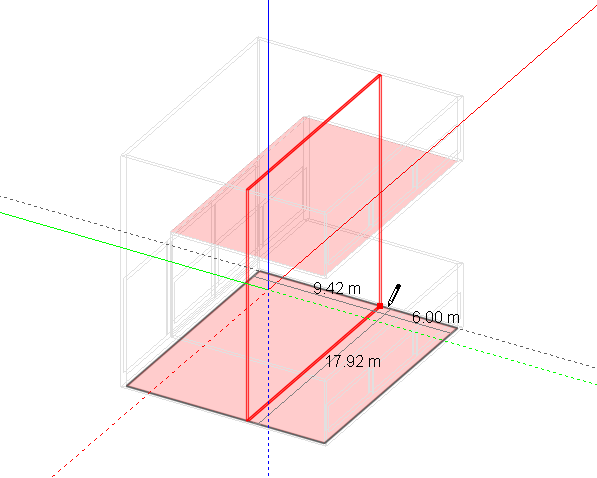
Building blocks can be divided into any number of zones by drawing partitions inside the block. To start drawing partitions, click on the 'Draw partitions' tool. You can place partitions freely within a block either free-standing or snapped to an external block wall or existing partition. Partitions can be positioned using the snaps, drawing guides and protractor. A partition doesn't need to be snapped to a wall element, you can drag a partition across a wall and when you click the end-point, it will be automatically trimmed to the wall.
You can enter the thickness of the first partition drawn in the block and subsequent partitions take on the same thickness as the first.
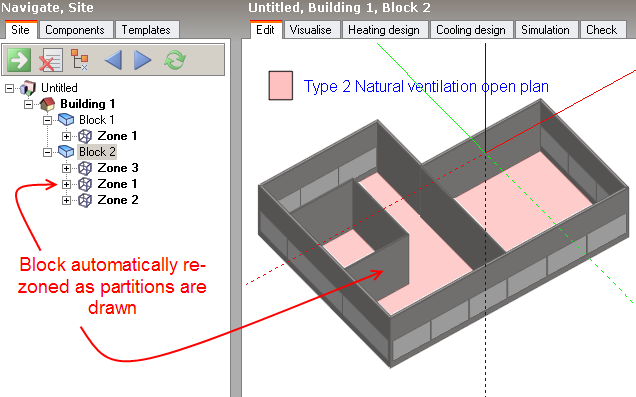
By default, blocks are automatically re-zoned as soon as complete zone perimeters are formed by drawing partitions. In order to speed up the process of adding partitions, particularly in the case of large and complex blocks, the block zoning process can be postponed until partitioning has been completed. To do this, open the Model options dialog and switch off the Automatic block zoning option under the Miscellaneous Edit header on the Advanced tab. When partitioning has been completed, the block can be manually re-zoned by selecting the Rezone block command from the Tools menu. Partitions drawn with the Automatic block zoning option switched off are called Outline partitions and are shown in blue.
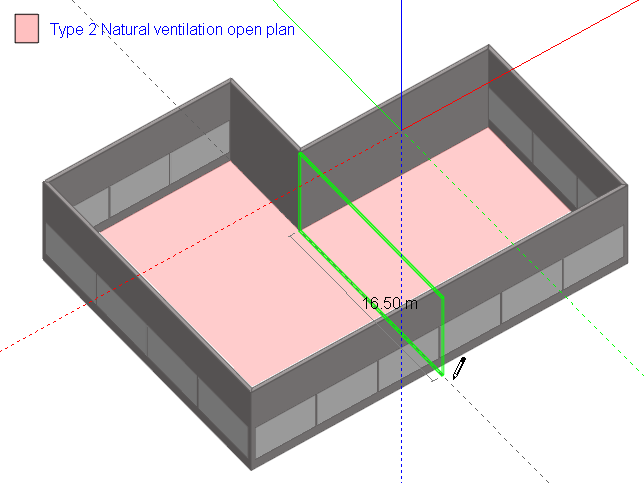
Click the partition end-point on the outside of the wall and it's automatically trimmed:
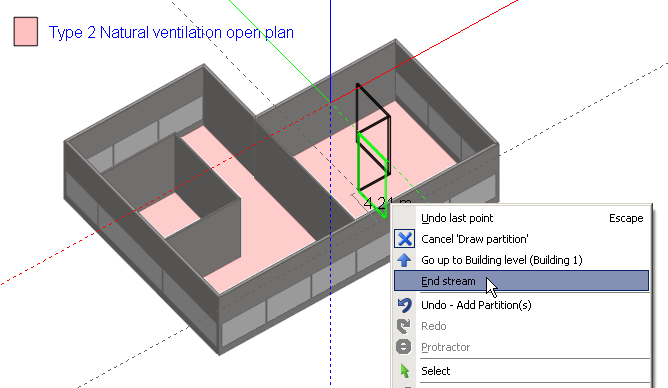
When you draw a partition or a series of partitions (stream), you can undo the last point placed by pressing the ESC key or selecting 'Undo last point' from the right-click menu.
You can also terminate a partition stream anywhere by selecting 'End stream' from the right-click menu (or by pressing the ENTER key):
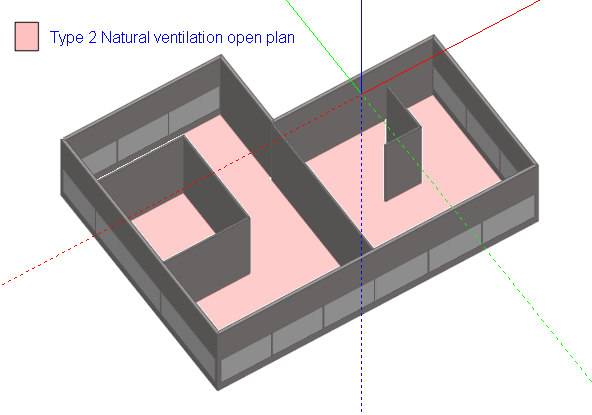
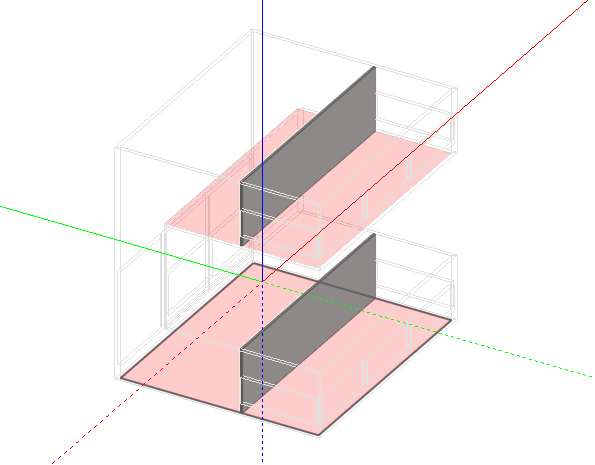
When partitions or partition streams are placed that don't connect with anything at either or both ends, they are called hanging partitions and can be used to add thermal mass to zones:
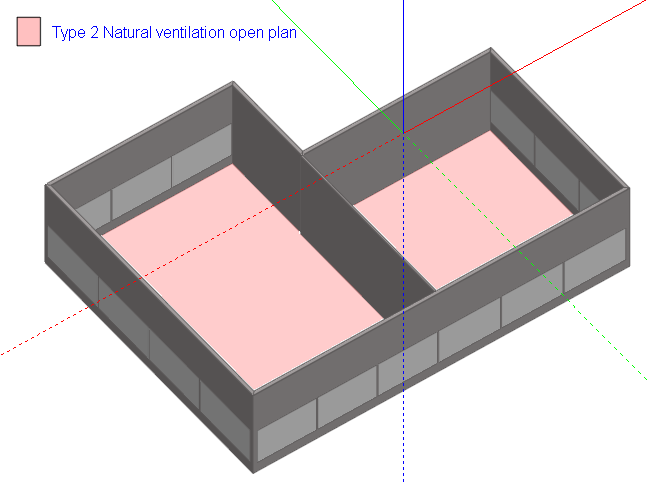
Once you've placed partitions that divide existing zones within a block, the block is re-zoned automatically:
When you partition complex blocks rather than simple vertical extrusions, partitions are automatically cut to fit within the block:
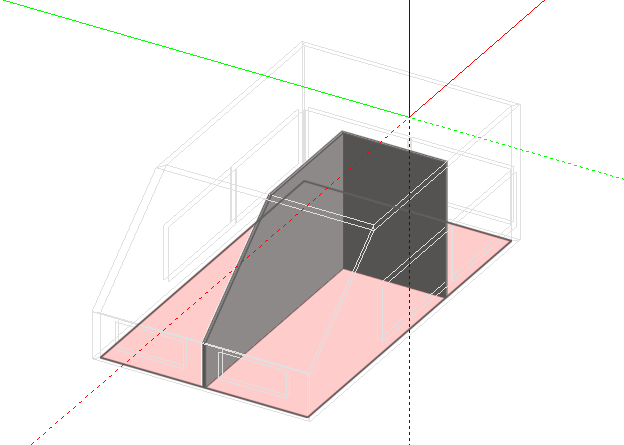
Seeing into blocks with sloping walls
If the display of the block outer walls prevents you from drawing partitions (for example in a pitched roof block) then you can switch off the display of external walls.
In some cases, if the geometry is complex, it can be possible to create a zone that comprises several geometric bodies which are physically separated from each other. For example, in the case of a horizontally extruded 'C' shape:

If a partition is drawn as shown:
The partition and resulting zone will be cut to form what appears to be two partitions and two zones:
However the two resulting zones are in fact two geometric bodies within one zone:

While this geometry is perfectly acceptable for the default EnergyPlus solar calculations (see Model Options), it cannot be processed by the more rigourous Full exterior and interior solar distribution option. If this latter option is required, you can either model the geometry as two separate blocks or cut the block.